Jaguar, 25000 frames, The Gif
Graphic Interchange Format
1.-Screenshots
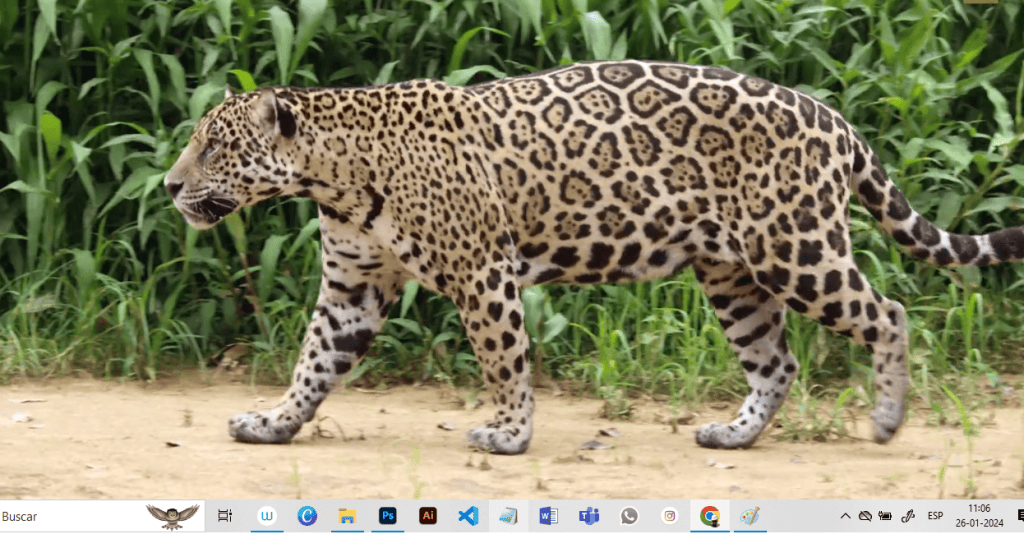
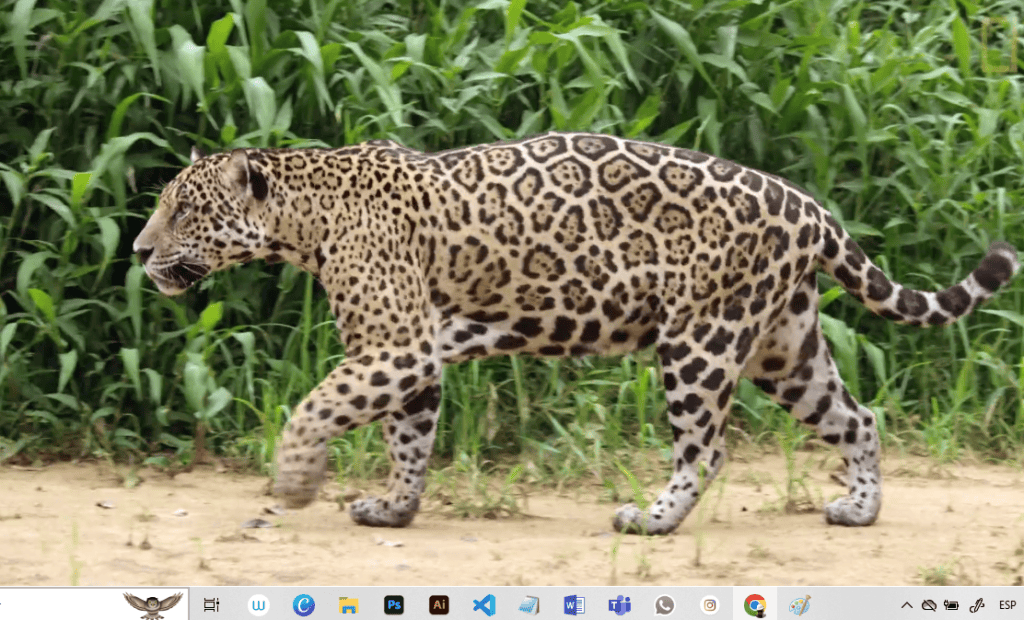
La génesis del proceso de creación del GIF Jaguar, 25000 frames implicó la captura de pantalla de un registro documental audiovisual de un jaguar en su hábitat natural. Es una secuencia de 12 screenshot a partir de los cuales surgen los dibujos a lápiz grafito sobre papel. (Por cuestiones prácticas no se incluye el total de capturas en este catálogo razonado del proceso creativo de la pieza gráfica.)
The genesis of the creative process of the Jaguar GIF—comprising 25,000 frames—involved taking screenshots from an audiovisual documentary recording of a jaguar in its natural habitat. It is a sequence of 12 screenshots from which the graphite pencil drawings on paper emerge. (For practical reasons, not all captures are included in this reasoned catalogue of the graphic piece’s creative process.)
2.-Drawings
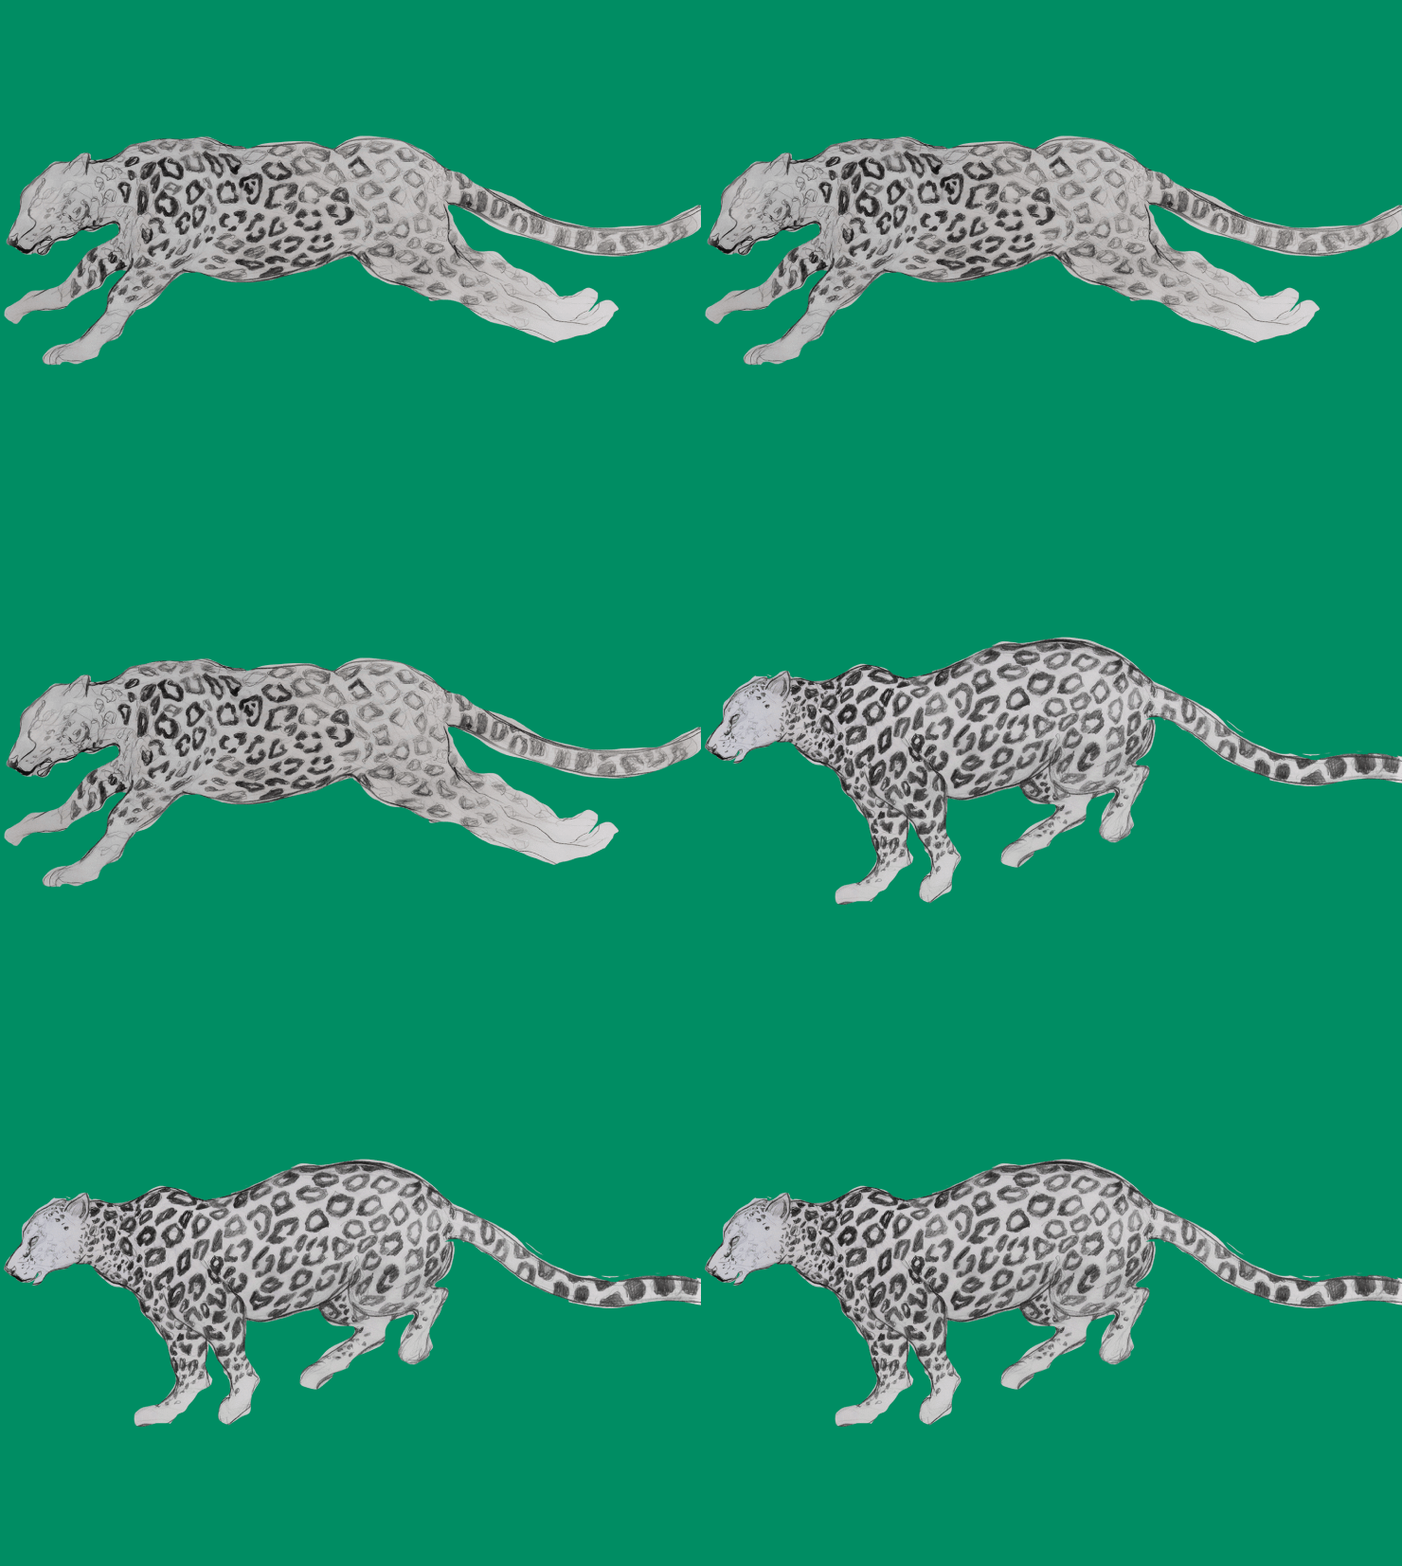
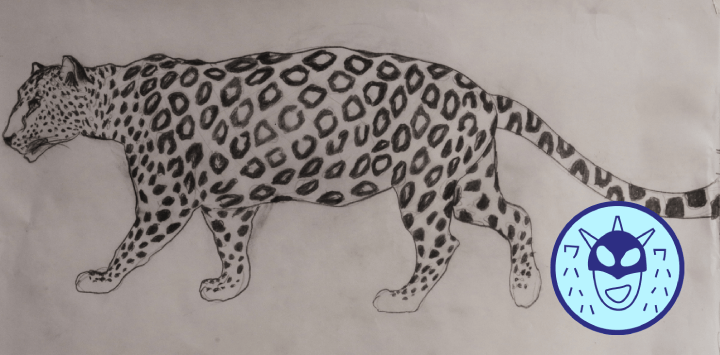
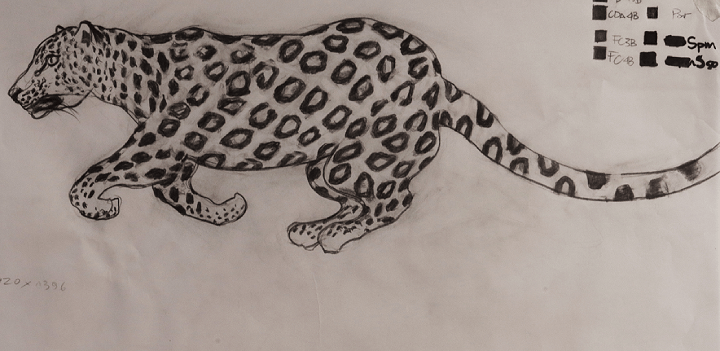
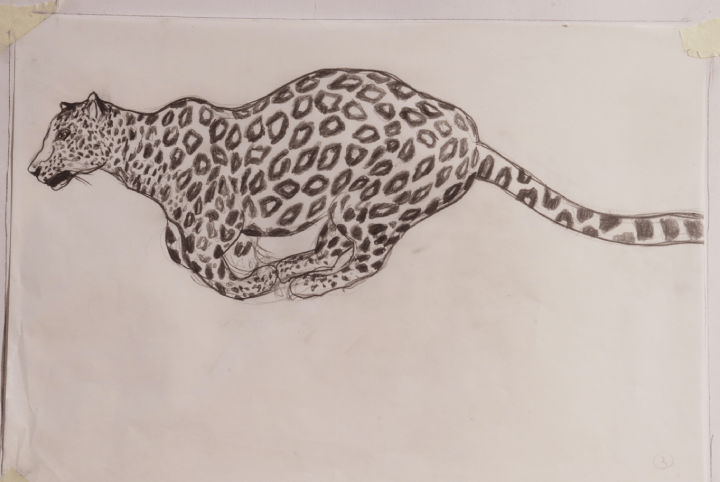
La segunda etapa del proceso creativo exigía el traspaso y transformación de la figura del jaguar desde la «fotografía» hacia un dibujo más o menos realista; aquí como diseñador o como creativo tuve que decidir hasta qué punto quería desarrollar el realismo de la representación: No podía ser una representación extremadamente realista o fotorrealista porque implicaba un trabajo de locura, pero al mismo tiempo no quería una representación pobre; (esto porque mi fascinación con el animal se ha ido desenvolviendo casi ya de manera atávica). Lo más trabajoso y duro del proceso fue dibujar las manchas del animal, y mantener una coherencia de las mismas, porque si las manchas no quedaban de manera uniforme en cada pieza de dibujo, al ser secuenciadas en el programa, el efecto de stop motion hubiese resultado desarticulado, lo mismo que si fuesen todos distintos jaguares, al final cuando secuencias, el movimiento y la figura no resultan coherentes. El proceso de dibujo al grafito de todas las piezas o planos, debe de haberme tomado unos cinco días por lo menos, trabajando en ello varias horas al día.
The second stage of the creative process required transferring and transforming the figure of the jaguar from a ‘photograph’ into a more or less realistic drawing. Here, as a designer or creator, I had to decide to what extent I wanted to develop the realism of the representation: it could not be an extremely realistic or photorealistic representation because that would have meant an insane amount of work, but at the same time I didn’t want a poor representation (this because my fascination with the animal has unfolded in an almost atavistic way). The hardest and most laborious part of the process was drawing the animal’s spots and maintaining consistency among them; because if the spots did not look uniform in each drawing piece when sequenced in the software, the stop-motion effect would have ended up disjointed, just as if they were all different jaguars. In the end, when you sequence them, the movement and the figure are not coherent. The graphite drawing process for all the pieces or frames must have taken me about five days at least, working on it several hours a day.
3.-Registro fotográfico
La tercera etapa del proyecto, una vez ya completada la secuencia de todos los dibujos al lápiz grafito, consistió en el registro fotográfico de las 12 piezas. (Generalmente, una persona que ya ha trabajado la fotografía de catálogo -porque cada tipo de fotografía para cada distinto campo requiere de instrumentación distinta, ya sea lentes, iluminación; como también así de una correcta relación mecánica del triángulo de exposición, o las distintas configuraciones mecánica de la cámara- ya ha sistematizado la configuración de disparo para no tener que estar perdiendo tiempo ni desgastándose en maniobras y tomas innecesarias. En mi caso, para la fotografía de catálogo trabajo en la forma AV, con una posición constante de disparo que implica una correcta distancia entre la cámara y la imagen a capturar, una determinada iluminación que no rebote la luz en la imagen, etc. De esta manera sistematizo el proceso de registro. Registrar dibujos al grafito tiene su dificultad particular porque el grafito brilla. No es fácil lograr buenas capturas de dibujos al grafito o al carboncillo.
The third stage of the project, once the sequence of all graphite pencil drawings was completed, consisted of the photographic recording of the 12 pieces. (Generally, someone who has already worked in catalog photography—since each type of photography for each distinct field requires different instrumentation, whether lenses or lighting, as well as a proper mechanical relationship of the exposure triangle or different camera setup configurations—has already systematized the shooting configuration to avoid wasting time or burning out on unnecessary maneuvers and shots. In my case, for catalog photography I work in Aperture Priority (Av) mode, with a constant shooting position that involves a correct distance between the camera and the image to be captured, specific lighting that prevents glare on the image, etc. In this way, I systematize the recording process. Photographing graphite drawings presents its own unique challenge because graphite shines. Achieving good captures of graphite or charcoal drawings is by no means an easy task.)
4.-La transformación del formato digital
Una vez hecha la secuencia fotográfica fue preciso transformarlas desde el formato Jpg de tamaño 6000×4000 a formato Png en el software, y una vez lavado el fondo de la imagen para poder trabajar la figura representada sobre un plano de color digital, retocar cuestiones básicas de brillo y contraste. Estos valores también tienen que ser constantes para lograr una secuencia de imágenes con una intensidad de brillo y contrastes uniformes.
Once the photographic sequence was completed, it was necessary to convert the images in the software from JPG format at 6000×4000 resolution to PNG format. Once the background of the image was washed out—in order to work with the rendered figure on a digital color plane—basic adjustments to brightness and contrast were made. These values must also remain constant to achieve an image sequence with uniform brightness and contrast intensity.
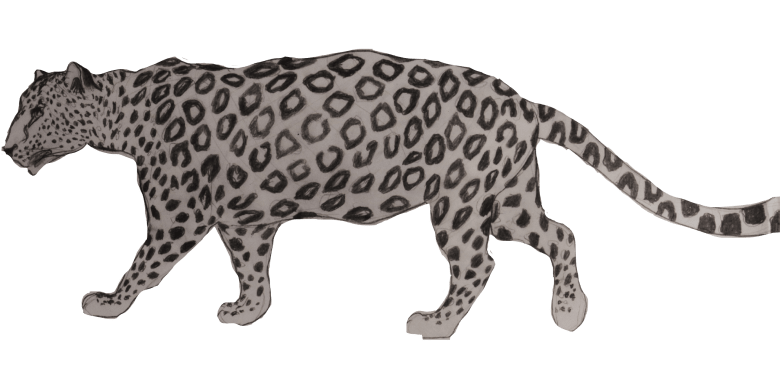
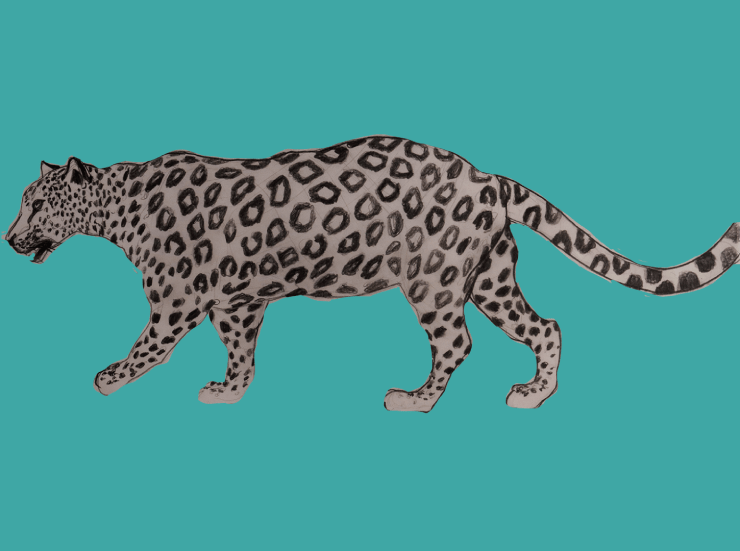
La imagen superior corresponde a la imagen ya «recortada» del fondo y exportada como archivo Png. Como es transparente, adopta el fondo del color del lienzo.
The upper image corresponds to the image already ‘cropped’ from the background and exported as a PNG file. Since it is transparent, it adopts the color background of the canvas.
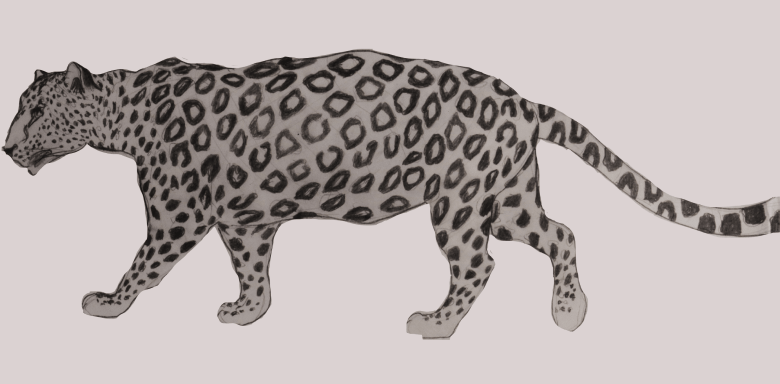
La imagen inferior está exportada ya desde el software con una capa de color digital, en este caso gris.
The lower image has already been exported from the software with a digital color layer, in this case, grey.
5.-La elección definitiva del plano de color de fondo o Background
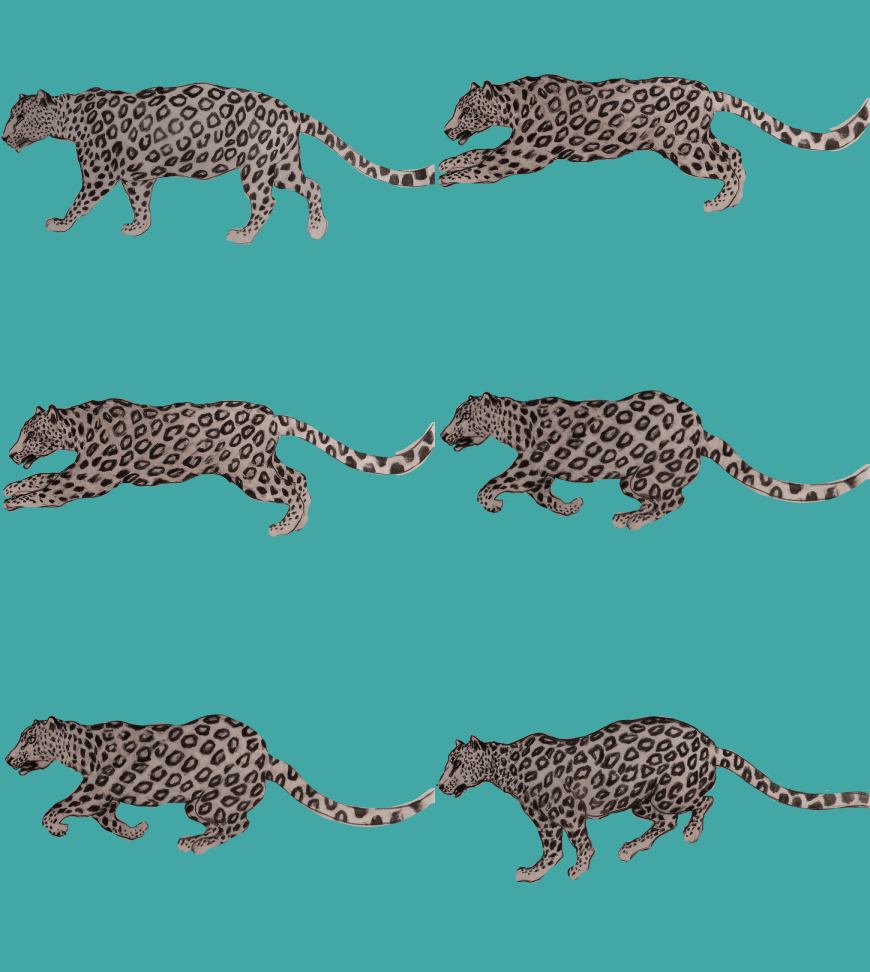
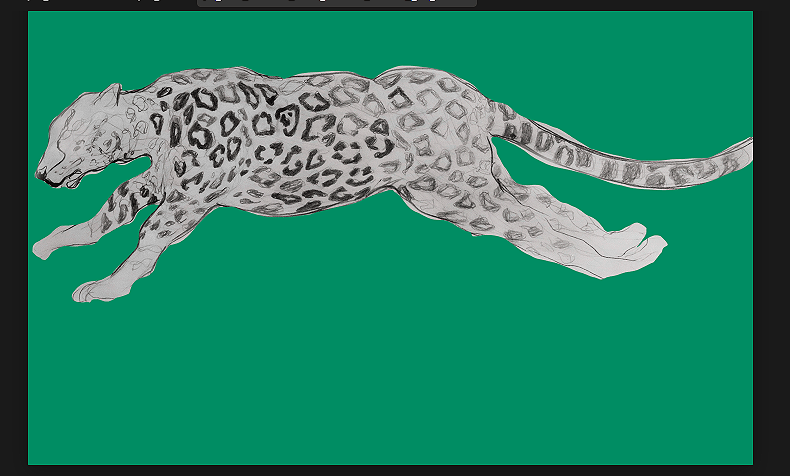
La elección del color Background no es una cuestión muy compleja, teniendo en cuenta la complejidad de todos los pasos anteriores y el dominio de capacidades y habilidades necesarias para llegar a producir una pieza animada de medios mixtos: saber dibujar, saber usar un ordenador y sus posibilidades, saber de fotografía para poder registrar, dominar un software de edición digital para fotografía digital, comprender los formatos de archivos, etcétera. La elección de color pasó entonces por varias paletas de color. Lo realmente difícil, en esta última etapa, es que las imágenes que ya han sido muy manipuladas queden en un encuadre perfecto, para que el principio de animación por medio de stop motion, resulte coherente, con movimiento articulado natural, esto requiere de mucha practica previa, y yo trabajé este principio desde imágenes muy básicas -y ajenas, como dibujos animados, escenas de películas y videojuegos- Mis primeros experimentos para llagar a este tipo de animación en formato gif partieron con secuencias de 2 imágenes. Ha sido todo un proceso de aprendizaje que ya suma cuatro años por lo menos.
Choosing the background color is not a very complex issue, considering the complexity of all the previous steps and the mastery of skills and abilities required to produce a mixed-media animated piece: knowing how to draw, knowing how to use a computer and its capabilities, knowing photography in order to capture images, mastering digital editing software for digital photography, understanding file formats, and so on. The color choice therefore went through several color palettes. What was truly difficult in this final stage was ensuring that the images, which had already been heavily manipulated, were perfectly framed so that the stop-motion animation principle would turn out coherent, with natural articulated movement. This requires a lot of prior practice, and I worked on this principle using very basic and external images—such as cartoons, movie scenes, and video games. My first experiments to achieve this type of animation in GIF format started with 2-image sequences. It has been a whole learning process spanning at least four years now.
Demo